The Icon Tutorial #1 featuring Selective Colour (Well, and DestroyX)


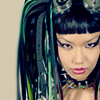
From this really boring coloured one to something with a nice pastel thing.
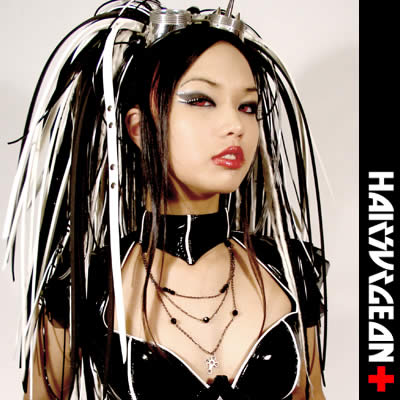
The original image is from the Surgeon-X site, featuring DestroyX of Angelspit.
> After you have resized and cropped the image and stuff ... ...
> Go to Layer > New Adjustment Layer > Selective Colour >
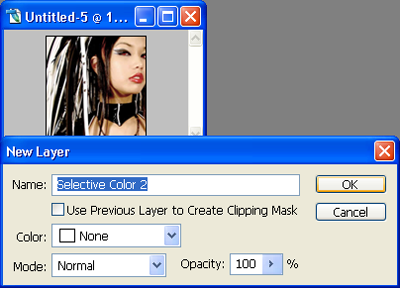
Press "OK"
> Put all these values into the respective colour, while the others (Like yellow) just leave them as they are.
Red > -47, +41, -79, +41
White > +45, +18, -34, -18
Neutral > +51, -18, -20, +7
Black > +40, +9, -25, +18
> Then create a new layer (Ctrl + Shift + N) and fill it with a beige colour #F0CF8F.

Set it as "Multiply" and Opacity 48%


Gosh, I need to study.
No comments:
Post a Comment